How to install a car amplifier
welcome to the amplifier install tutorial in this lesson that we are going to be going over necessary steps it takes to install an amplifier an amplifier will not only make your system sound louder and better overcome road noise but you also create improve clarity in detail for your speakers creating a better experience for you your customer in order to install an amp you will need it an amplifier install kit.
|
they come in different gauge sizes the most common gauges are 4 gauge and 8 gauge refer to your amplifiers manual for guage size requirements included in this kit is a power cable ground cable wire ,amp turn on wire a fuse holder ,a fuses and all necessary crimp connectors to connect those wires you also need a set or sets RCA signal cables this depends on how many channels you will be amplifying.
|
your kit may or may not be supplied with speaker wire if you are powering subs three to four feet speaker cable will be enough if your power inside vocal speakers you will need enough wire to run down from your amp to each speaker you're amplifying the minimum tools required for installing an amp are a Phillips screwdriver a soft panel removal tool a utility knife drill and bit set a drill gun a socket and ratchet set and a wire stripper and crimper tool
|
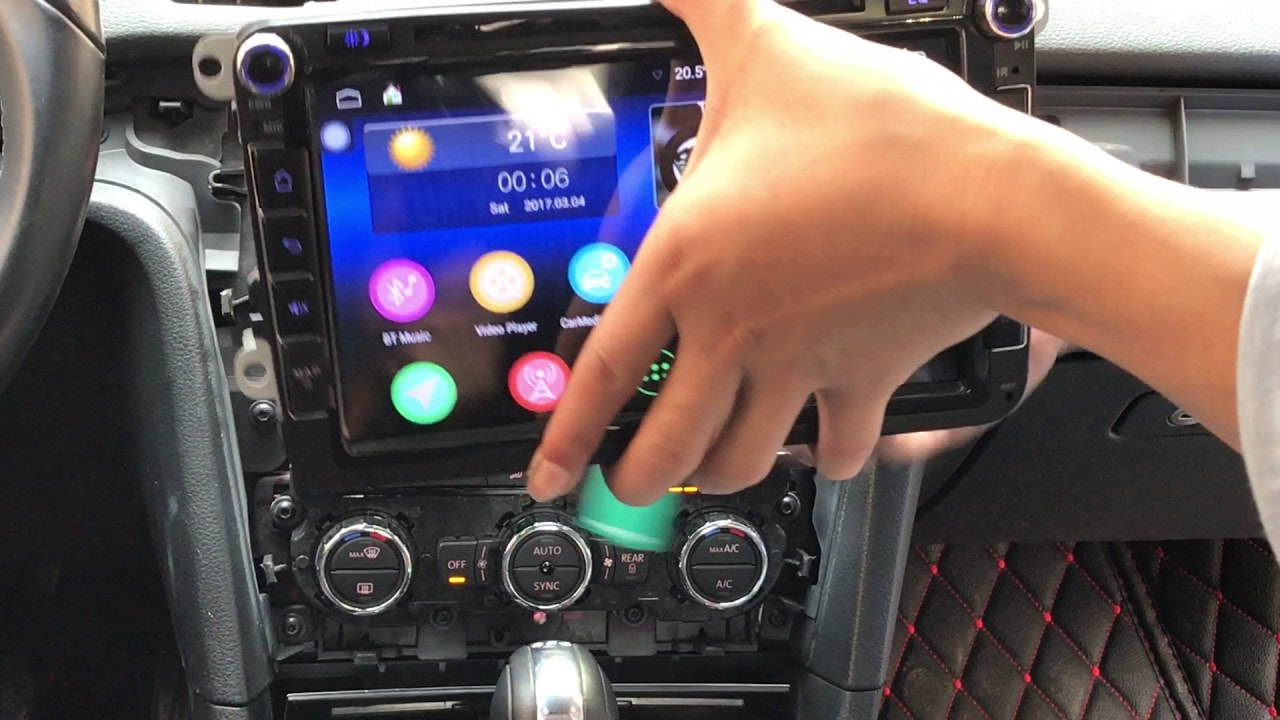
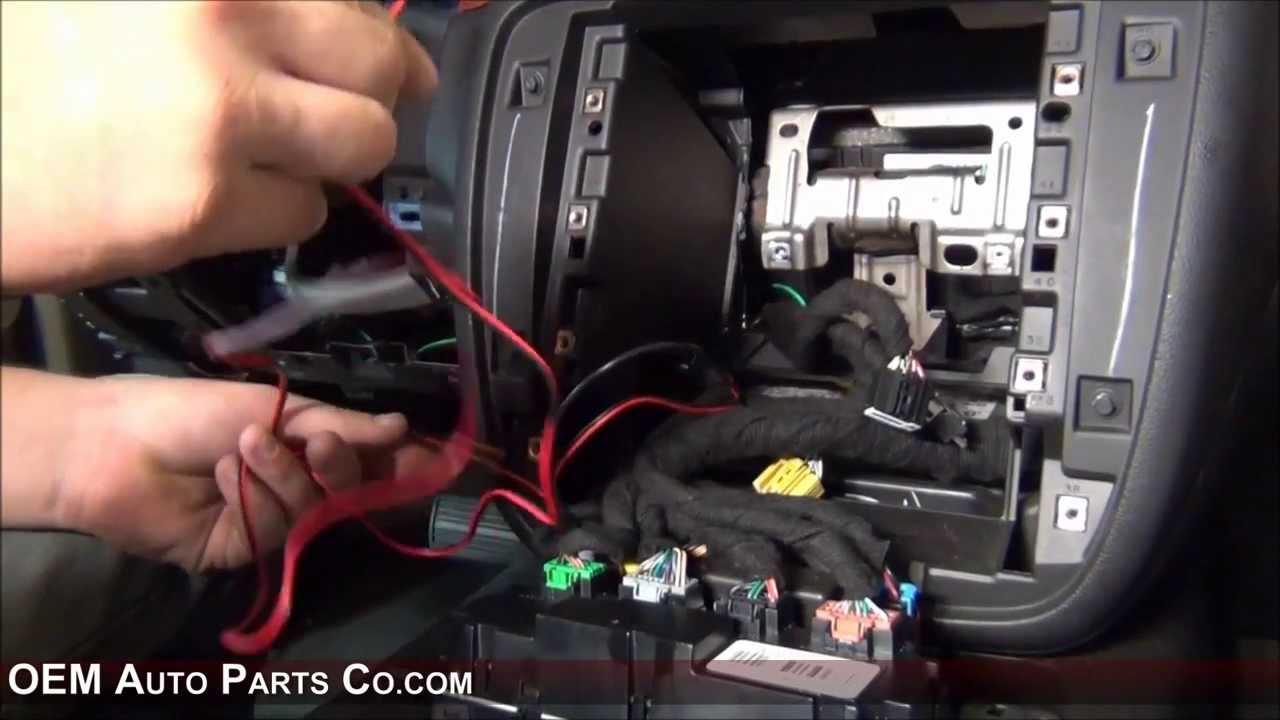
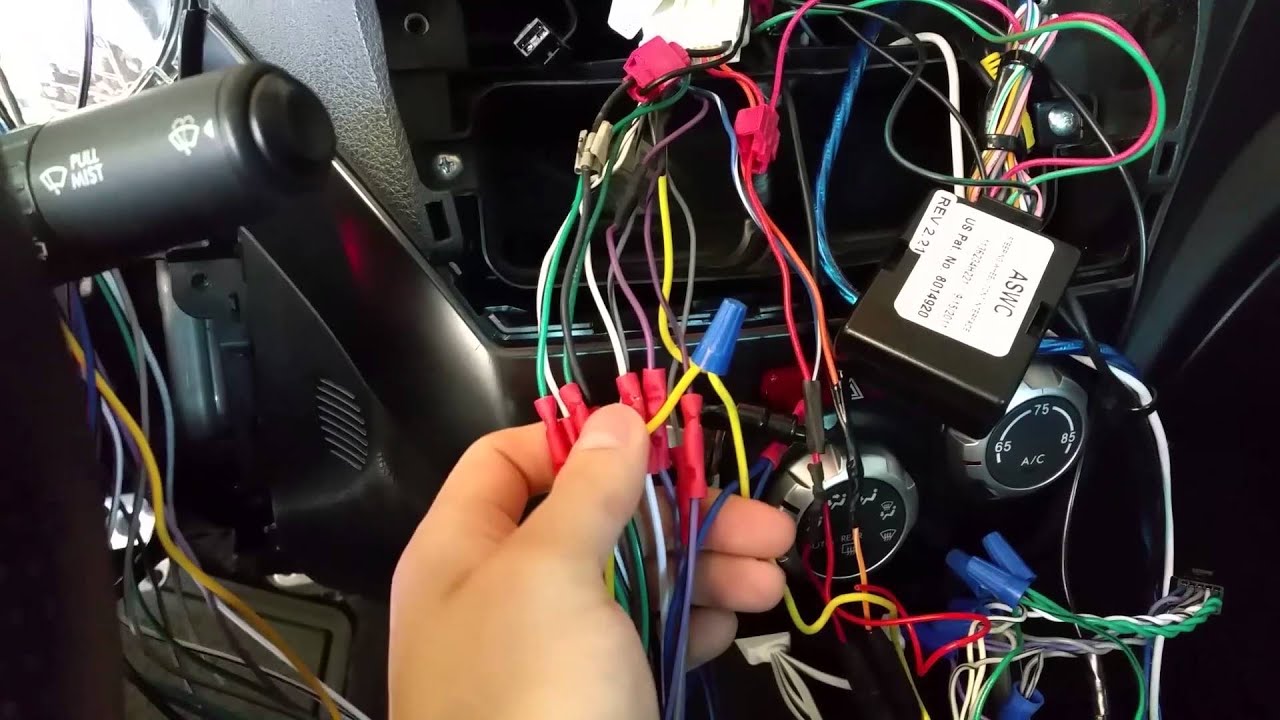
before you begin your install make sure to disconnect the negative Terminal of cars battery to prevent a short-circuit in some vehicles disconnecting the battery may require you to re enter a security code ,so before disconnecting make sure you have the factory stereos anti-theft security code on hand the amp install is broken up into six main steps step 1: panel disassembly step 2 running the cables step 3: wiring amp step 4: wiring the head unit step 5: installing the fuse and step 6: setting filters in gains let's start off by disassembling the area for signal and power cables to be ran since we will be running wires down both sides of the vehicle let's remove both side kick panels, doors cuff plates, lower trim panel ,upper trim panel and if needed the seat belt cover anchor once that is complete disassemble the dash if you are unfamiliar with how to disassemble the dash watch my video on how to do so in the how to install a car stereo install tutorial once the dash is disassembled pull out the head unit so that we may accesses stereos RCA output amp turn on wire installing an amplifier run the power cable first it is a good idea to run the power wire done the same side as the battery this will help in having enough cable leftover for long vehicles, look for spot on the fire wall where you can drill a hole into the metal,sometimes a vehicle will have every movable piece of foam on the firewall and behind it will be a mark spot for a wire can pass through once drilled, use a drill bit to cut a hole for the wire and if you need a bigger hole use a uni bit to increase the hole diameter once the power cable has been passed through the firewall do not run it to the amps location because we will need to run it along with the amp turn on wire so for now leave the power cable at the kick panel and temporarily secure the power wire in the engine bay close to the battery by using a zip tie run the amp turn on wire through the dash to the side where the power cable is located now it is time to run the power cable and amp turn on wire to the amplifier, run these cables down the side other vehicle do not run the power and remote cables across the gas and brake pedals, run them at a slant downwards across the floor the vehicle then run them through the sill plate Middle Pillar we're still and through the seats sometimes it may be easier to take the seat off and run the power cable underneath it can also use what's called a snake and pull the wires through that way now that the power cable and the remote turn on wire have been ran to the amp let's go ahead and runs RCA's to the amp remember to run them down opposite side of the power cable and the remote wire the reason we do that a so we don't induced noise into the system after you have ran your power, remote and RCA's to the amp grab your ground cable from the amp kit and running along with the amp wires where the amplifier is located, strip back a half-inch of insulation off each wire the red power wire goes into the 12 volt input on the amp the blue remote turn on wire goes into the amp turn on input on the amplifier,the black ground cable goes into the ground input on the amplifier, the RCA's which are red and white go into the red or white inputs on the amplifier, once you have completed inserting all your wires go ahead to connect the speaker wires from the speaker wire output to your sub-woofer, if your not using a sub woofer and your power inside vocal speakers go-ahead run the wire to each individual speaker before we can complete the amplifier wiring at the amps location we must first ground the ground cable to the vehicle of the body to complete the circuit, to do this find a bolt near the amps location, scrape away paint and clean the bolts location completely and then both the terminal tightly to the vehicle's metal chassis you can't find a convenient bolt use a self tapping screw the star washer is and screw the ring terminal down, pay careful attention to what below the spot of where you are drilling in the earlier section we removed to the stereo from the dash ,were move the stereo for two reasons one is to connect the amps blue turn on wire from the amp kit to the apt turn on output on the back at the stereo the blue turn on wire tells the amp to turn on when the stereo was turned on reason 2 is to plug in the amp kits RCA's to the RCA output on the back at the stereo, these RCA connectors are we supply the amp with a musical signal to be amplified let's connect the amp turn on wire first on the back of the aftermarket stereo look for the wire labeled amp turn on it's a blue wire with a white stripe connect this wire to the amps turn on wire wire that we previously ran to the amps location if you are using a stock head unit like we have in this Toyota Corolla you have two options you can purchase a line out converter has an internal amp turn on wire built-in or you can tap to the stock head unit ign 12 volt switched wire, the only drawback to this method is sometimes you make it was called an amp turn on thump this sound condemned your speakers so the best option is to buy a line out onverter with the amp turn on wire built in after you have connected the amp turn on wire plug in your RCA's either into your stock head units line out converter or if you have aftermarket head unit plug into the RCA outputs on the rear the stereo after you have completed plugging in your RCA's connecting your amp turn on wire leave the stereo out just in case you may need to correct something later move back into the engine bay where we can install the fuse holder to install a fuse holder strip back some the power wire by using the cutting section of your crimping tool, insert one end of the fuse holder into the wire and tighten the screw onto the wire.
there should be no stray power wire coming out the fuse holder at this time go ahead and prep the other side other wire that will connect to the battery then insert the fuse and connect by twisting the end caps together on the center fuse housing,this cable will connect directly to the vehicle's battery by crimp ring, this connector is supplied with your amp kit crimp it on to the power wire using your crimp tool then insert on the positive terminal of your battery,let's first set the filters on the amplifier if you are powering a sub woofer use the 80 hrtz setting on the amplifiers dial controls set the amp too low pass (lp) this only lets low frequencies pass to your sub woofer if you are powering inside vocal speakers set your amp to the high-pass filter this doesn't allow the low bass frequencies to reach her in side speakers resulting in distortion also set the high-pass filter to 80 Hertz these are both good reference points for sub woofer or for your high pass filter on your vocal speakers, less now set the gains, to set the gains set the gate control on your amplifier to its minimum level which is counterclockwise put it a good reference CD and turn the CD players volume up until you hear distortion what's your distortion stop turn the volume down just until the distortions disappears,doing this maximizes the signal to noise ratio and leaves your system less prone to engine noise problems keep the volume setting there ,now on your amplifier turn the gain controls on the amplifier up until it reaches the loudest volume that you will play it at , if you're distortion slightly decreased the gain settings until the distortion is gone now you're amplifier is level match with the CD player, you can turn the volume almost all the way up and not damage your speakers once you are completed with the amp install reassemble the dash and also the panel's.
